EN

When it comes to weathering warbird models, I’ll admit I got into this hobby late. I’ve always loved painting my models, and sometimes I even completely rework the factory paint scheme. For example, I repainted several Freewing 90mm F/A-18s from the standard grey finish into the Blue Angels livery.
The final results always bring me great satisfaction. Even so, I kept putting off getting an airbrush setup for a long time. Airbrushing opens up so many possibilities for fine blending, gradients and realistic weathering effects that you cannot easily achieve with other painting tools.
Better late than never! After years in the hobby, I finally picked up an airbrush kit. I chose an affordable setup recommended by an experienced painter whose advice I trust.
Let me be clear: I am far from an airbrush expert. I’m still learning. If you are looking for advanced technical guides about airbrush maintenance or complex painting techniques, there are plenty of great learning resources online.
This article simply shares practical tips and tricks I’ve picked up while airbrushing, weathering and adding fine details to your warbird models. I will keep adding new insights as I learn more, to help other hobbyists working on their own paint projects. Let’s dive in.
One important lesson for new painters: your airbrush does not have to be high-end to create nice finishes. A reliable air compressor matters more. You can upgrade your airbrush later once you build confidence and master the basics. A good compressor works well with both entry-level and premium airbrushes.
That is exactly how my kit works. My airbrush is considered beginner-level by seasoned painters, yet it handles all my weathering tasks perfectly. The compressor is solid, so I can swap to a better airbrush whenever I’m ready.
Hose fittings are mostly standard. On some occasions, a new airbrush may need an adapter to fit your compressor. These adapters are low-cost, so upgrading your airbrush later won’t be a big expense.
Airbrushing supports a wide range of paint types, including water-based acrylics, enamels and more. Water-based acrylics are beginner-friendly because they clean up easily. Enamel and lacquer paints require the correct solvent for thorough cleaning. You can even practice with food coloring before using model paint.
There is no single right choice. Pick paints you feel comfortable working with. Just take time to learn the properties of each paint type before starting your project. Most weathering effects can be completed with any paint you prefer.
For non-water-based paints, stick roughly to an 80/20 mix: 80% paint, 20% matching thinner. Straight paint is thick and will clog the airbrush needle easily. Adding thinner at this ratio prevents clogging and also makes cleanup simpler.
No matter what paint you use, make it a habit to fully clean your airbrush after every use and between switching paint colors. Budget and premium airbrushes alike are precision tools with tiny internal parts that control airflow. A dirty airbrush will clog the needle, leading to splatters and ruined paintwork.
This is the most important rule to keep repeating to yourself while you work on warbird weathering.
Over-weathering is the most common mistake I see. It is especially easy to overdo panel lines. Airbrushes are very sensitive, and it only takes a tiny amount of paint to create natural-looking panel lines and wear effects.
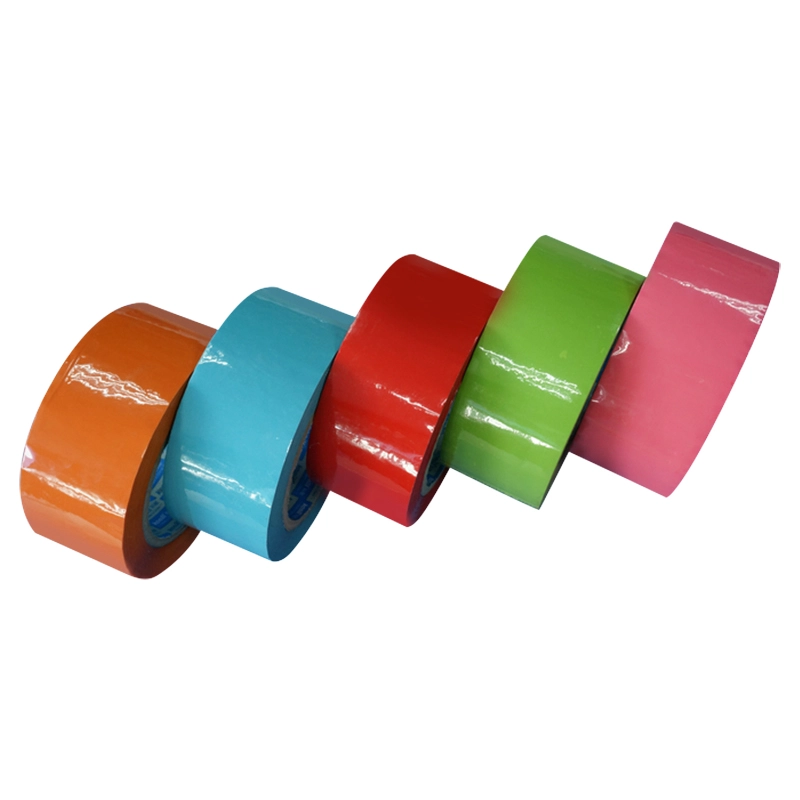
Take panel lines as an example. Many painters use masking tape along a panel seam, such as a vertical fuselage panel line on the port side. Place the tape right over the seam, and plan your paint to sit along one side of the tape, following the direction of prop wash.
A good method is to start spraying onto the tape itself and slowly move toward the tape edge where you want the panel line. This way, you lay down an extremely thin line of paint. It may look barely visible while spraying, and that is okay. Once you peel off the tape, you will be surprised how subtle paint creates a clean panel line.
This is where many hobbyists go wrong. They keep spraying until the line looks dark and obvious while the tape is still on. After removing the tape, the line ends up far too heavy and unnatural.
Real panel lines on original and restored warbirds are not bold and dark. Resist the urge to make them stand out. Great scale weathering is not about heavy panel lines. It relies on subtle techniques to recreate the illusion of oil stains, exhaust marks, paint chipping and other faint signs left by engines, mechanical wear and environmental exposure.
Spend time researching reference photos of full-size warbirds matching your model. Study authentic weathering patterns on real aircraft and finished scale models. The more references you look at, the more natural your weathering will turn out.
Mistakes can be fixed. Work gently, clean your airbrush between colors and sessions, and always paint in a ventilated space with a proper mask when using enamel or lacquer paints. Most importantly, enjoy the painting process!
Copyright © 2005-2026 MySite Ltd. All Rights Reserved. POWERED BY UEESHOP