EN

Introduction: A foam model canopy stays easy to live with when the latch is dry fitted, aligned, gently tightened, and tested before anything becomes permanent.
Installing an rc canopy lock on a foam hatch looks like a two-minute job, and on a simple trainer it often is. The trouble starts when the hole is opened before anyone has checked where the latch actually wants to sit. Foam is soft, the latch body is small and stiff, and a single mounting hole leaves no room to slide the part around later. Getting the sequence right — dry fit first, alignment second, restrained tightening third, opening test last — is what keeps a simple accessory from turning into a patched-up hatch. This walkthrough follows that order and explains what each stage is actually checking.
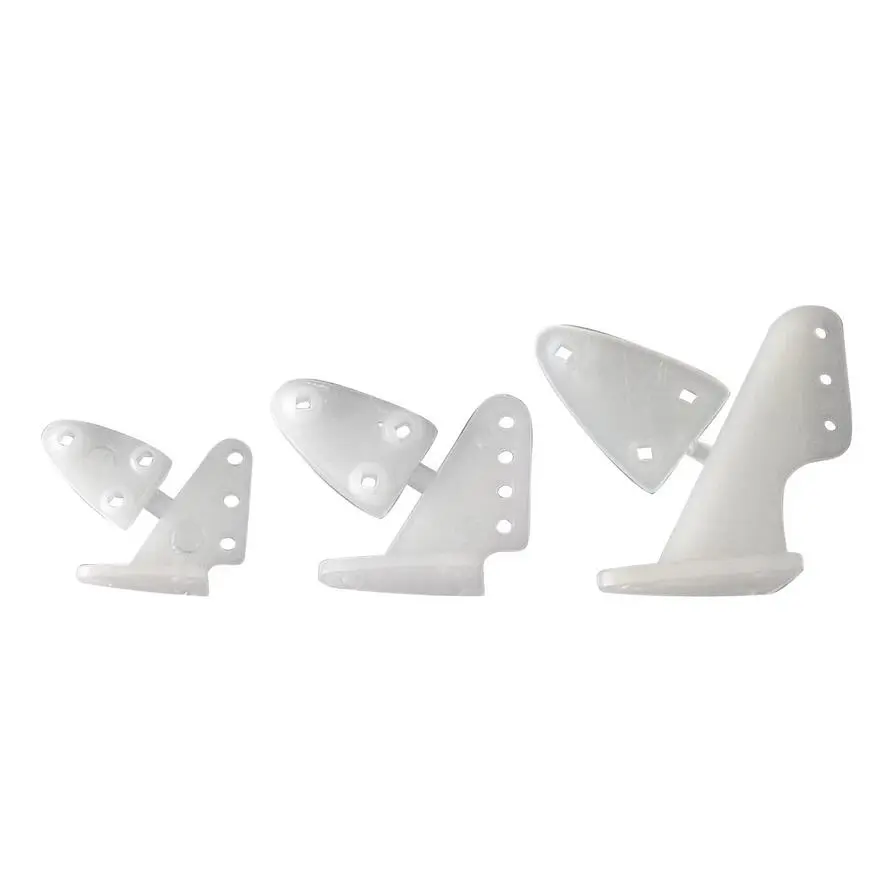
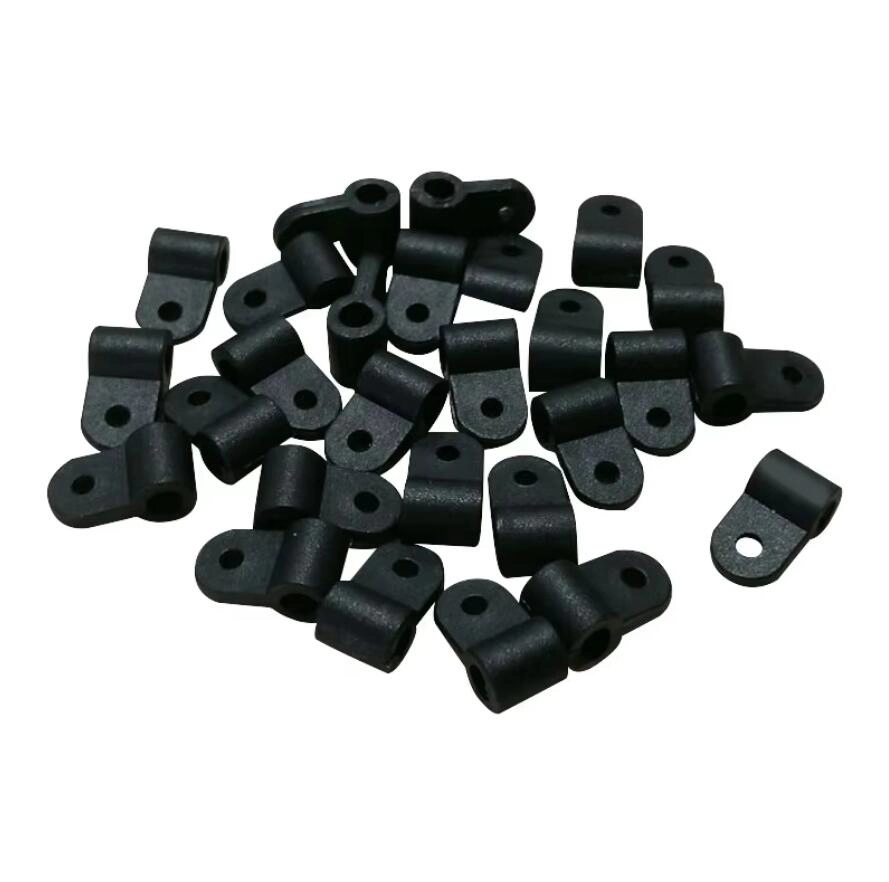
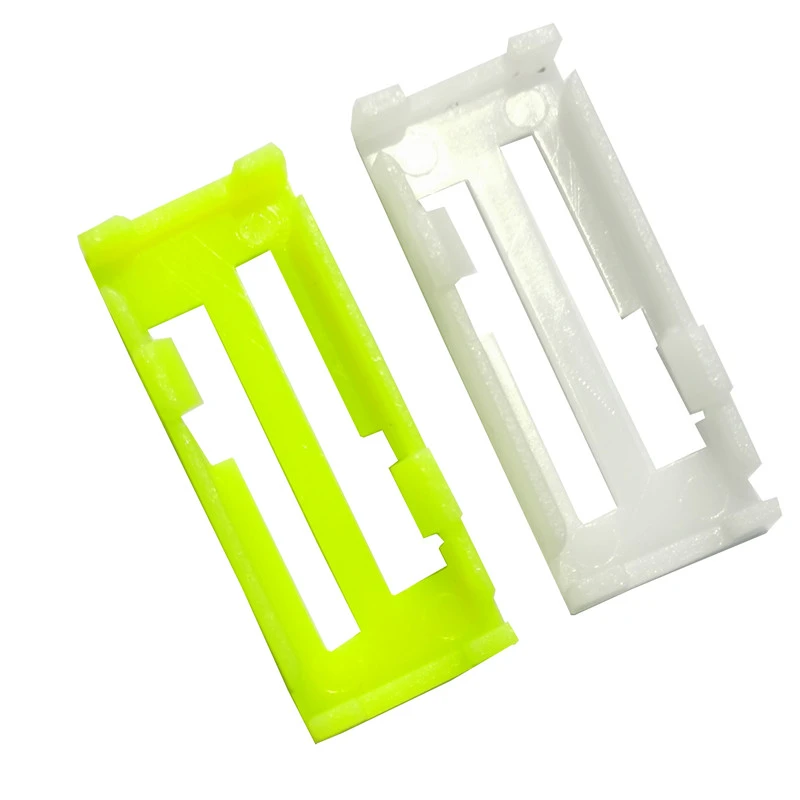
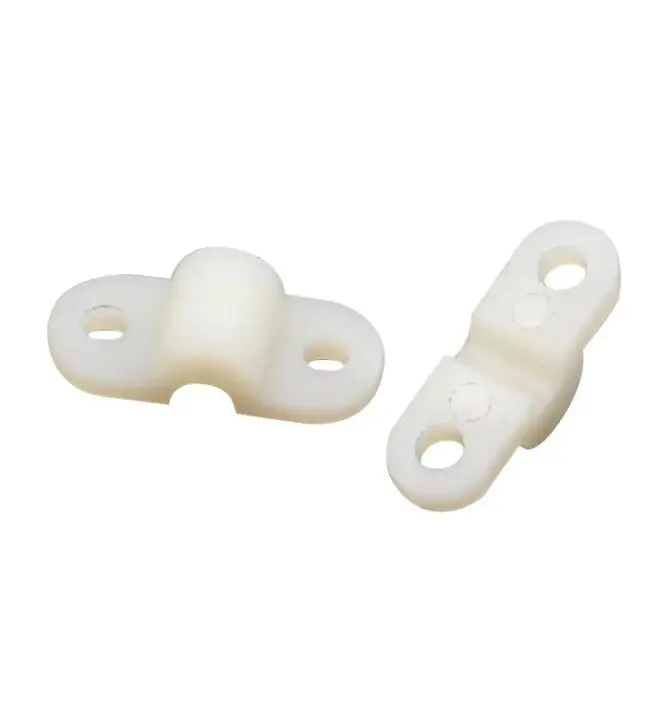
The rc canopy latch in this pack is a compact molded plastic body with one mounting hole. That single hole is the whole adjustment. Once a fastener goes through it and into the fuselage side, the latch position is decided, and any error shows up as a hatch that sits crooked, lifts at one corner, or needs a nudge to close. A dry fit removes that risk from the equation: the latch is held against the fuselage by hand or with a strip of tape, the canopy is set in place, and the whole assembly is judged while nothing has been drilled or driven in. The materials explain why this first pass matters so much. Molded plastic parts are stiff and hold their shape, which is exactly what a small latch needs to do, since the body has no spring and no threaded insert to absorb misalignment. Foam behaves in the opposite way — it is light, soft, and willing to compress under load. Put those two together and the plastic wins every argument. If the latch sits a fraction too far forward or back, the foam takes the deformation instead of the latch, and the hatch develops a memory of being pulled to one side. Dry fitting lets you see that relationship with your own eyes before the foam is committed. Dry fitting also settles the question of where the hole goes relative to the hatch lip. The latch needs to hook over the hatch edge with enough overlap to press the shell down, but not so much that the canopy has to be forced under it. Holding the part in place and closing the hatch a few times shows the overlap in real conditions: how much of the lip the latch covers, whether the hatch rests flat along its full length, and whether the latch body sits against a flat area of the fuselage or bridges a curve. On a foam model with a molded hatch, those answers come faster from one trial closure than from any measurement.
Alignment is the stage where most first installations drift. The hatch should be seated as it will sit in use — pressed down evenly, front edge located, no twist — and the latch should be brought to that hatch rather than the hatch being pulled to the latch. With the canopy closed, slide the latch into position until its hook just catches the hatch lip, then look along the seam from the nose end and from the side. The latch body should sit square to the fuselage line, with its flat face in full contact rather than resting on one edge. If the part looks tilted when the hatch is closed, the hatch will be stressed every time it is opened, and the foam around the mounting point takes that stress.
Run a fingertip, or a thin slip of paper, along the hatch seam on both sides while the latch is held in place. The gap should read the same on the left and right, and the hatch should not dip at the corner nearest the latch. An even gap tells you the latch is centered on the hatch line and pressing straight down; an uneven gap tells you it is offset, and no amount of careful tightening will correct that. On a molded foam canopy the seam is usually the clearest reference you have, and it is worth closing and opening the hatch three or four times during this check, because a slightly twisted position often only shows up on the second or third cycle.
Foam compresses long before a fastener feels tight, so the usual instinct to keep turning until something feels solid works against you here. A plastic latch body pressed too hard into soft foam can dish the surface under it, elongate the mounting hole, or sit proud on one side as the foam gives unevenly beneath it. The safer habit is to bring the fixing down in small increments and test the hatch between each one: the latch should end up flat against the fuselage, the hatch should still lift with light finger pressure, and the seam should stay even. No torque figure is published for this part, so the feel of the hatch — not the resistance of the fastener — is the guide. The listing names a pin, screw, or wire clip as ways to fix the latch through the hole, and which of those ships in the pack is not stated, so have a suitable fastener ready before the final step.
The opening test is the part most builders skip, and it is the one that confirms the job. Close the hatch fully, then open it with a normal lift, the way you would at the bench or on the flight line when swapping a battery or reaching the receiver. Repeat it eight or ten times and watch for three things: the latch should release the hatch without a sharp tug, the hatch should come down and settle in the same position on every cycle, and the seam should stay even rather than creeping open at one corner. A hatch that needs a firmer pull each time or drifts out of line is telling you the latch is loaded unevenly against the foam. Listen and feel during those cycles as well. A clean setup closes with a light, consistent press and opens with a small, predictable pop as the latch clears the lip. Grinding, a hard snap, or a hatch that rocks slightly when closed points to the latch sitting too deep or too shallow, and the fix is a small position change rather than more force on the fastener. Check the mounting point itself afterwards: the foam around the latch should look flat and undisturbed, with the plastic body sitting square. If the foam shows a dent or the latch sits at an angle, back the fixing off, realign, and run the opening test again. It is also worth repeating the check after the model has been handled and packed away a few times, since foam and small plastic parts settle differently once they see real use, and a hatch that felt right on the bench is worth a second look before the next outing.
A foam canopy hatch rewards patience in the first ten minutes far more than force in the last one. Dry fitting shows where the latch wants to sit, the gap check confirms the position is square, restrained tightening keeps the foam and the plastic body in good shape, and the opening test proves the whole arrangement works with the hatch in place. None of these steps needs a special tool — the rc canopy latch is a single-hole plastic part that goes on with a pin, screw, or wire clip — and each one is quick to repeat if something looks off. Builders who follow the order once usually find the second canopy faster than the first.
A: Yes. Hold the latch against the fuselage side with the canopy closed, and check the hatch seam and latch angle before any hole is opened. With one mounting hole there is no later adjustment, so the dry fit is the only chance to confirm the position with the hatch seated and the foam undisturbed.
A: Tight enough that the latch body sits flat against the fuselage and the hatch still opens with light finger pressure. Foam compresses easily, so work in small increments and test the hatch between turns. No torque figure is published for this part, which makes the feel of the hatch the practical guide.
A: Cycle the hatch eight to ten times and watch for a consistent seat, an even seam, and a light, predictable release each time. Grinding, a hard snap, or a hatch that drifts to one side means the latch is loaded unevenly, and a small realignment will usually settle it.
Plastics: A simple introduction - Explain that Stuff
5 Pcs Canopy Hatch Lock Latch L23.5mm For RC Airplanes Parts Electric Planes Foam Model Accessories
Copyright © 2005-2026 MySite Ltd. All Rights Reserved. POWERED BY UEESHOP