EN

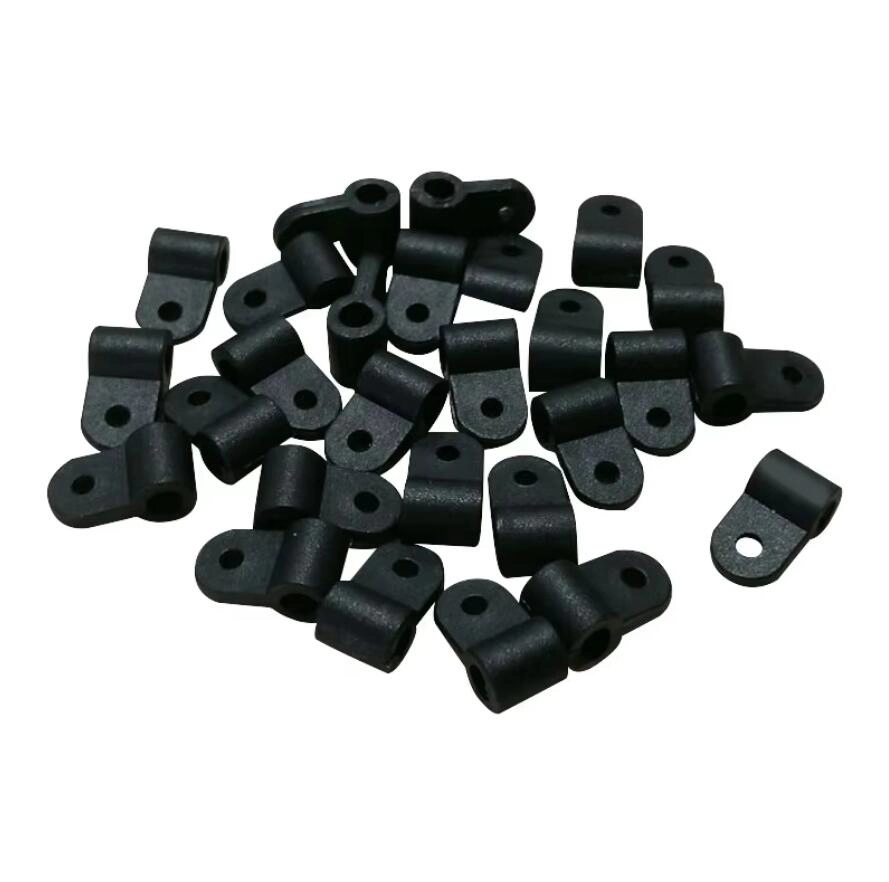
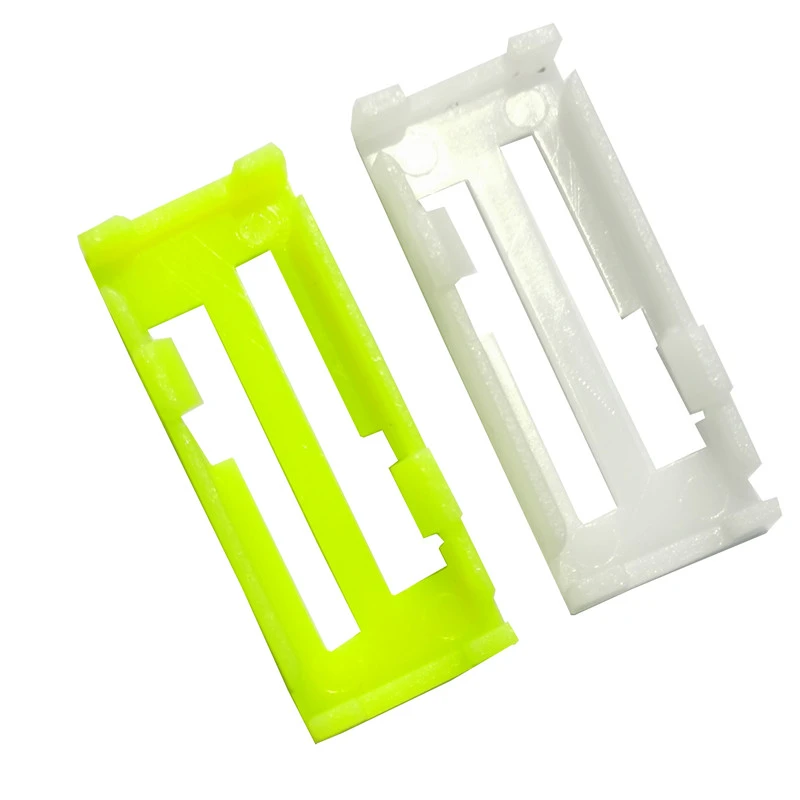
Introduction: A replacement rc canopy latch fits when its L23.5 mm length and 3 mm mounting-hole reference match the old hatch latch and canopy opening on your RC airplane.
A replacement rc canopy latch earns its place when its length and hole position line up with the hatch already on your bench. Usually the old latch has worked loose, cracked, or disappeared into the grass. You are left holding a small plastic part beside the model and wanting a direct answer: will this part mount on the fuselage and hold the canopy down? The two dimensions to compare are the L23.5 mm length and the 3 mm mounting-hole reference. Measure the old latch and the opening it sits over, then use those figures to decide whether to order the pack or ask a question first.
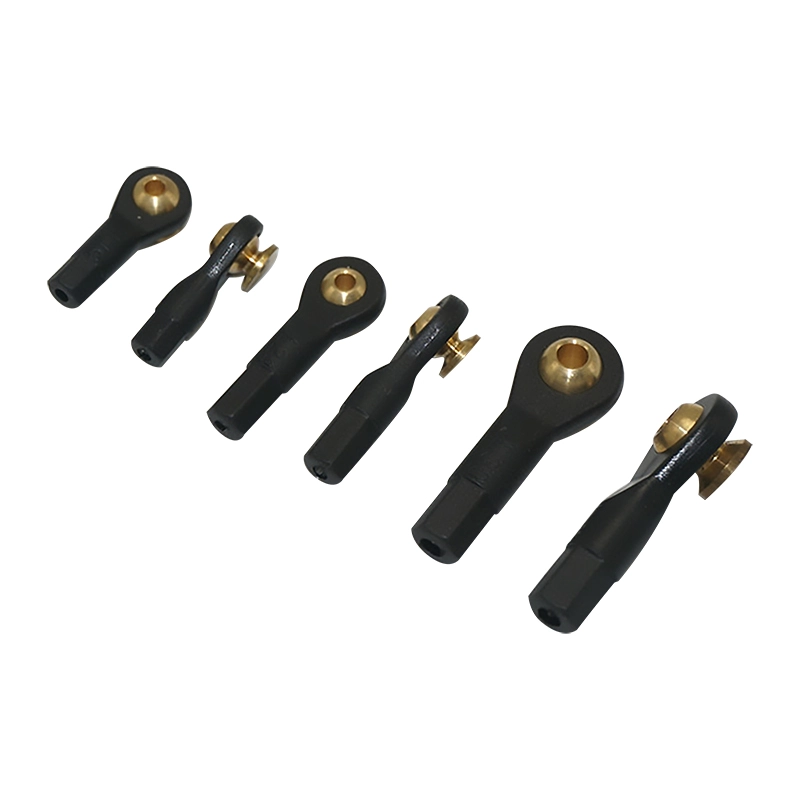
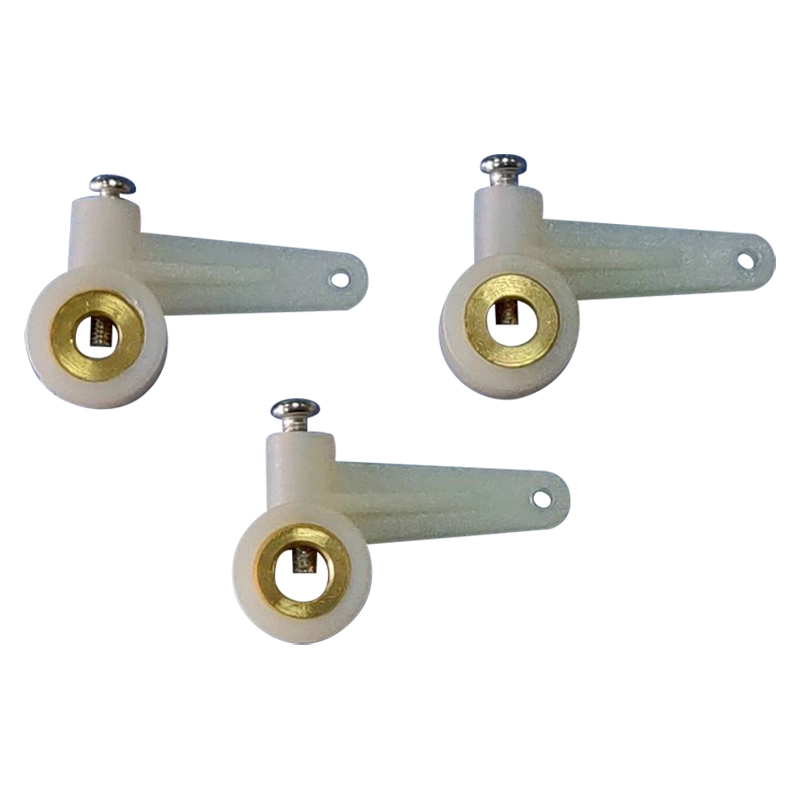
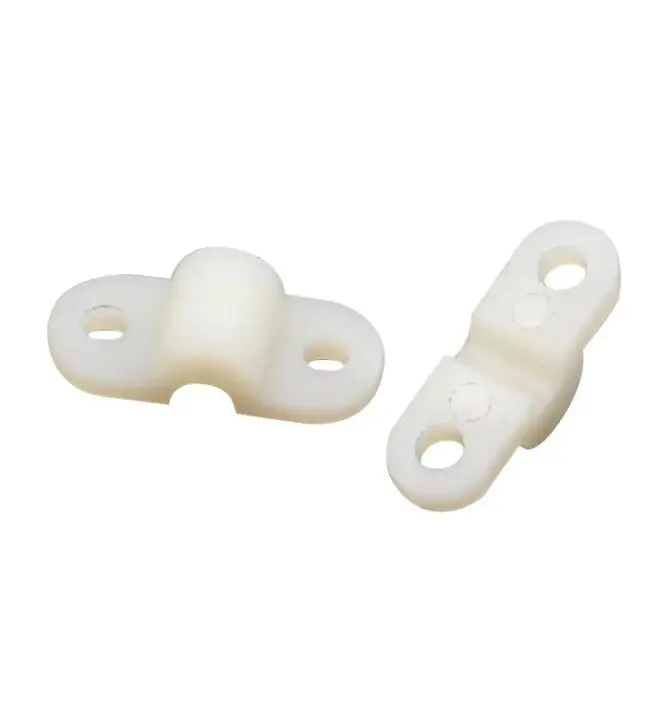
L23.5 mm describes the latch body from the mounting end to the tip of the tab that lifts. It is not the size of the canopy opening or the width of the hatch. The number answers a practical question: does the latch reach from the single mounting point on the fuselage, across the canopy shell, and far enough over the edge to press it down? A replacement rc canopy lock that is noticeably shorter may fall short of the shell and leave the rear edge free to lift. One that runs long may stand proud, look out of place, and interfere with opening the canopy. With a single-hole latch, length and hole position work together. The part pivots on one fixing point, so the tip swings through an arc; where that point sits relative to the canopy lip determines how much of the shell the latch can hold. Compare a replacement with your old part rather than with a model list. A light molded plastic latch suits this task because very little mass hangs off the fuselage, the shape does the work, and there is no spring or threaded insert to wear out or lose in the grass. The 3 mm hole reference gives you the fixing size to plan around, so match it to the pin, screw, or wire clip already on your model.
Take the canopy off the model and work at the bench, in good light, with a steel rule or calipers and a fine marker. Measuring a loose part is easier than measuring a latch still screwed to a fuselage, and it lets you set the old piece and a rule side by side. Give yourself ten quiet minutes here and the ordering decision becomes clearer.
Lay the old latch flat and measure it end to end first. Then measure from the center of its hole to the very tip of the tab. That second number matters most because it shows how far the latch reaches past its pivot. Write down both figures and compare them with 23.5 mm. A difference of a millimetre or two gives you a practical starting point before ordering. Note the shape as well, including whether the body sits flat or steps down toward the tip; a stepped latch and a flat one can reach the same distance while sitting very differently on the shell.
Size the hole next. Push the smooth shank of a 3 mm drill bit through it and note whether it feels snug, loose, or tight. Then measure from the center of the hole outward to the canopy lip. Check the gap between the canopy shell and the fuselage side at the point where the latch closes. A small, even gap lets the body sit down and press the shell properly. A wide gap means the latch has to reach farther before it touches anything; a longer tip can help in that situation. Record the hole position and gap along with the old latch length so you can compare the whole mounting geometry.
The available dimensions are the L23.5 mm length, a 3 mm hole reference, one mounting hole, five pieces per pack, and the Black, White, and Natural color options. Body width, body height, numeric weight, and fastener inclusion still need your own check. On a roomy installation those details may not slow you down. On a tight foam canopy they can matter: a taller body needs more clearance under the shell, and a wider one needs more space beside the hatch line. Measure the clearance you have. If the fit looks close, ask for the exact width and height before you commit. Treat the 3 mm figure as a reference for the fixing, not a tolerance. The length and hole position help you compare a replacement with your hatch; they are not a model compatibility list. For the remaining details, check body width, height, numeric weight, and fastener inclusion against your model or ask us before ordering. When the numbers line up, the five-piece pack earns its keep: one latch goes on the model, one rides in the flight box as a spare, one covers a second airframe, and the color choice lets you match a dark frame with black or keep a white latch visible against pale foam. If your measurements are well off, send them over before guessing. A short note with your old latch length, hole size, and canopy gap is usually enough for us to help you compare the figures and decide whether this rc canopy latch is the right starting point for your hatch.
Sizing a canopy lock takes three measurements you can make at the bench: old latch length, hole size, and reach across the canopy shell. With those figures, you can judge whether L23.5 mm and a 3 mm mounting hole put you in the right ballpark. If they do, order the pack and keep the spare in your flight box. If a number falls outside that range, send us what you measured — length, hole, and gap — and we can help you compare the options before you buy.
A: Measure your old latch end to end, then from the center of its mounting hole to the tip of the tab, and compare both figures with 23.5 mm. Check that the mounting hole takes a 3 mm fixing and that the tip reaches over the canopy lip with the hatch closed. A hole-to-tip measurement close to 23.5 mm gives you a useful starting point; confirm hole position and canopy gap before ordering.
A: The 3 mm reference gives you the fixing size to plan around. To judge reach, pair it with the hole-to-tip length and the distance from the hole out to the canopy lip. Test your existing hole with a 3 mm drill shank, then check where the tip lands with the hatch closed. Those figures together give you a practical view of the fit.
A: Measure the hole diameter, the material thickness at the mounting point, and how the old fastener was retained — a screw into an insert, a pin through foam, or a wire clip. If the old fixing was larger than 3 mm, note that too, since a bushing or a different fastener may be part of your install plan. Send those figures along with your latch length, and we can discuss the options before you order.
Plastics: A simple introduction - Explain that Stuff
Copyright © 2005-2026 MySite Ltd. All Rights Reserved. POWERED BY UEESHOP