EN

Introduction: A single-hole canopy latch suits foam model builds by setting alignment with one mounting point, reducing hardware steps, and allowing a dry fit before final fixing.
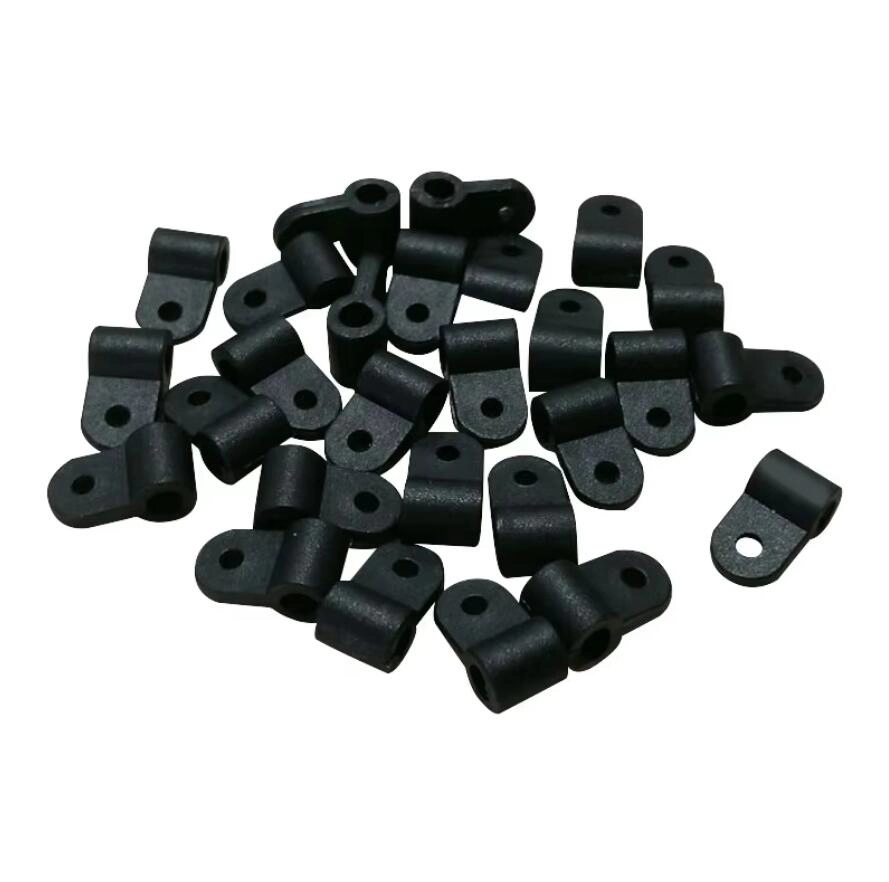
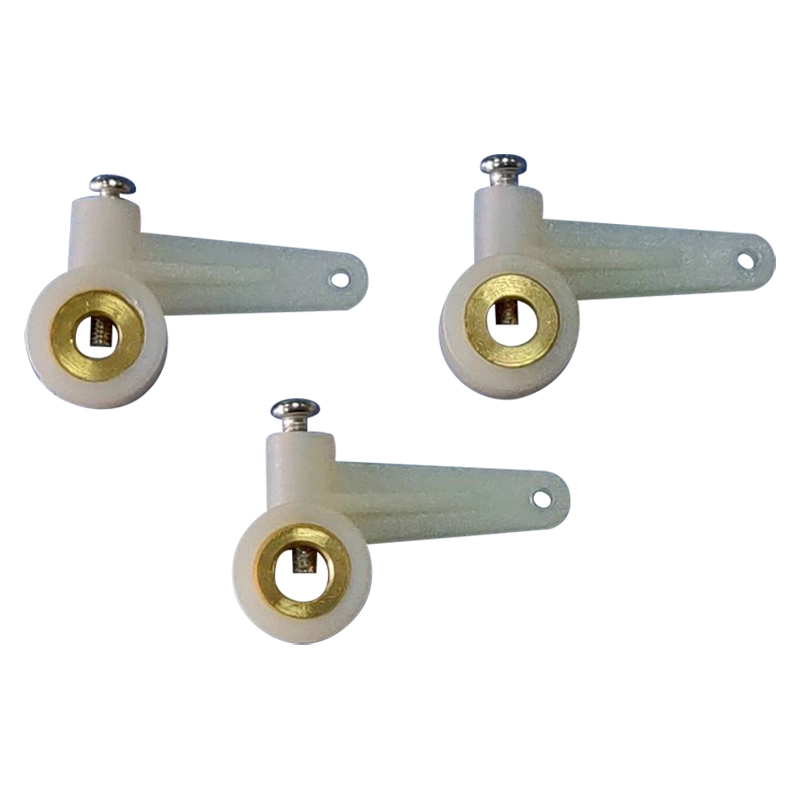
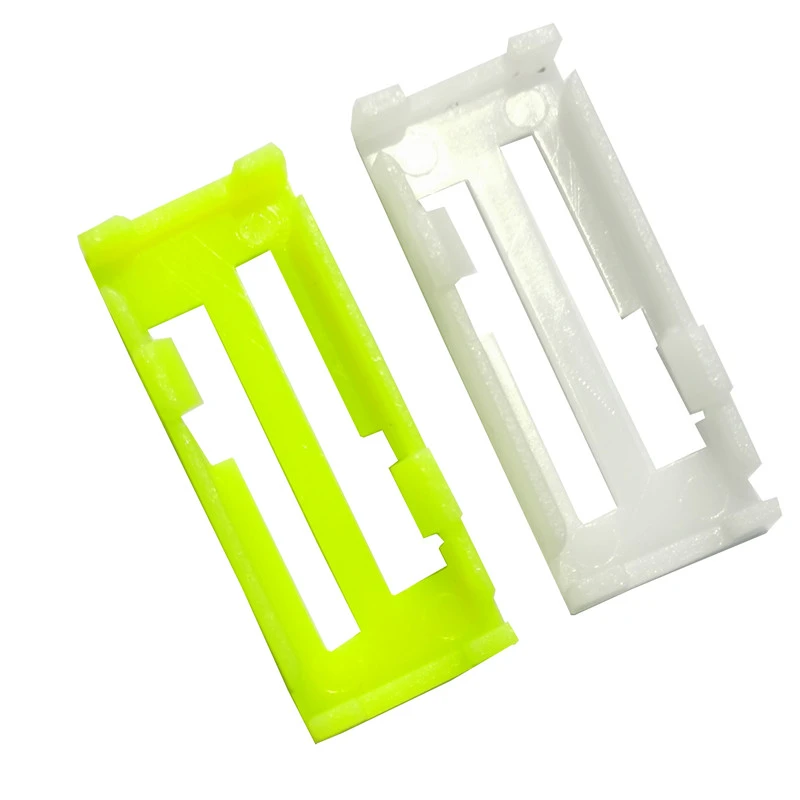
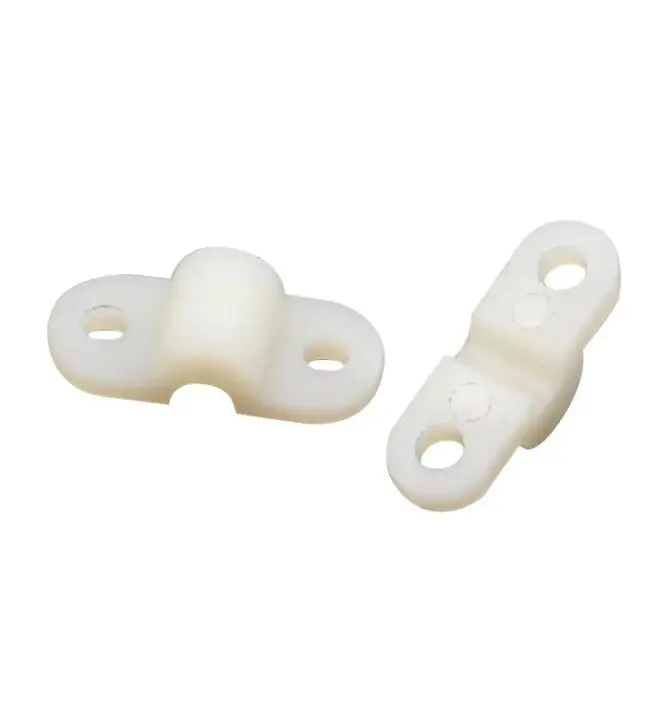
An RC canopy latch with one mounting hole simplifies foam model installation because the hole sets alignment before you add a pin, screw, or wire clip. When fitting a canopy to a foam fuselage, holding the latch in place while checking shell fit, hatch travel, and local support is often the difficult part. A latch with one hole, no spring, and no threaded insert reduces chances for the foam to shift during fitting. That makes the single-hole canopy hatch latch a practical choice for first builds, small electric models, and simple repairs that need a clean closure without a hardware stack.
A single mounting hole makes the latch a locating feature as well as a fixing point. Place the molded body against the canopy shell and fuselage side, align the contact area, and use the hole to establish position. There is no second screw line to pull the part out of square, and no spring tower or insert boss competing for space inside a thin foam canopy. Foam shells can flex while you handle them, so the simpler layout is easier to control. The latch should sit where it can press the canopy shell toward the fuselage without twisting the hatch or crushing the local foam.
The mounting hole gives you a clear reference before final fixing. With a pin, screw, or wire clip passing through the hole, check the latch body for rotation, side clearance, and contact with the canopy edge. From that one point, you can see how latch, shell, and fuselage relate. The 3 mm hole reference and L23.5 mm body length keep the part compact for small hatch openings and narrow foam frames. Position first, check contact second, and fix last.
Foam is light and easy to shape, but it compresses unevenly. A small latch body works best on a surface that is smooth, flat enough, and free of loose beads or old glue lumps. If the latch sits on a high spot, the canopy may rock around the fixing point. If it sits in a soft hollow, the shell may feel loose before you close the hatch. Lightweight structures depend on material and shape working together, and a local part such as a canopy latch is no different. Clean the seat, test the contact patch, and keep fixing pressure gentle so the foam keeps its shape.
For a simple RC canopy latch, the no-spring, no-insert layout keeps the installation focused on the shell and the fixing point. A spring-loaded latch adds moving parts, a spring path, and a release action that can be fussy in a small foam canopy. A threaded insert adds another step: drill a larger hole, set the insert, and rely on the surrounding foam or wood staying solid. This latch avoids both. It is a molded plastic body with one hole, and the opening action comes from lifting and releasing the canopy rather than from a spring inside the part. That makes the latch easy to understand on the bench, especially on a first build where you want to see how the hatch behaves before committing to glue or a permanent fixing. The absence of a threaded insert also changes how you treat the foam. You are not cutting threads into a soft material or relying on a metal insert to carry the load. The pin, screw, or wire clip passes through the single hole and holds the latch body in place. On a thin foam shell, the quality of the surrounding structure matters: a small plywood or plastic backing patch, a molded boss, or a solid frame edge can give the fixing point something to grip. The latch itself is a lightweight plastic molding, so it adds very little to the model’s flying weight. Its holding action is a simple press of the canopy shell toward the fuselage. How well that works depends on the hatch fit, foam condition, and fixing you choose, so check those points on your own airframe. The opening and closing routine stays simple. Lift the canopy to release it, then press it back down so the latch body sits against the shell. There is no spring to fight, no insert to strip, and no special tool to find at the field. A pin, screw, or wire clip is enough. Check whether the pack includes that fixing part before ordering if you need a complete fixing set.
Dry-fitting shows whether the single-hole layout suits your foam canopy. Set the latch in position without glue or a permanent fixing, close the canopy gently, and watch how the shell moves. The latch should meet the canopy edge and press the shell toward the fuselage without bowing the hatch or lifting the opposite side. Open and close the canopy several times. If the latch rotates around the single hole, the seat is not flat enough or the hole is not giving you a stable reference. If the foam compresses too much, add a small local backing patch or move the fixing point to a stronger part of the frame. Check hinge movement and canopy clearance as well, because a latch that fits on the bench can still feel wrong once the canopy opens through its full travel. Dry-fitting also lets you judge the fixing method. Try the pin, screw, or wire clip without final tightening. Check that the fixing head does not sit proud where it can catch the hatch or rub the fuselage. Check that the latch body can be removed and refitted without enlarging the hole. On a balsa edge, a thin CA reinforcement around the fixing point can help. On a composite fuselage, clean the drilling area and avoid over-tightening. Foam needs the gentlest handling, so use light pressure and let the latch sit on a clean seat rather than pulling it down hard. When the dry fit looks right, fix the latch and repeat the open-close test. The canopy should release with a light lift and settle back without force. If the shell still shifts, stop and adjust the seat before adding more fixing pressure. A single-hole canopy latch is simple by design, and that simplicity is useful only when the foam underneath is prepared properly. For a first build or a small repair, the installation stays clear: one hole, one contact area, one fixing point, and a test before anything becomes permanent.
A single-hole canopy latch suits foam model builds because it removes extra alignment and hardware steps without making the installation vague. The single mounting hole sets position, the no-spring and no-insert design keeps the part simple, and a dry fit shows how the canopy shell will sit before you commit. For a foam model, that is a practical combination: lightweight, easy to understand, and simple to test on the bench. If you are choosing an RC canopy lock for a foam airplane, start with the L23.5 mm 5 Pcs pack, check the color, and confirm the fixing parts and model fit before you order.
A: The mounting hole acts as the main reference while the latch body sits against the canopy shell and fuselage side. During dry fit, the hole lets you check rotation and contact before you tighten a pin, screw, or wire clip. A clean, flat seat on the foam keeps the latch from rocking around that single point.
A: No special tool is required for this latch design. Open the mounting hole and fit the pin, screw, or wire clip with ordinary hobby tools, and check the fixing part and hole size on your own canopy first.
A: Dry-fit the latch body, the canopy shell, and the fixing point together before you add glue or tighten anything. Close the canopy, check that the shell is not bowed, test the opening and closing travel, and confirm that the fixing head does not catch or crush the foam. If the latch rocks or the shell lifts, adjust the seat or add local backing before final fixing.
Plastics: A simple introduction - Explain that Stuff
Copyright © 2005-2026 MySite Ltd. All Rights Reserved. POWERED BY UEESHOP